
There are thousands of websites on the web. Whatever information you need, you will surely find it on a specific website. Actually, it is no wonder as both individuals and businesses can establish web presence by setting up a particular project.
A website can perform several roles at a time, acting as a virtual storefront, a portfolio, a communication platform etc. This all depends on your assets and special requirements. This is also that very place where you can connect with potential clients irrespective of what kind of business you run. Finally, a website can enhance your online credibility, making it simpler for other users to find you without actually visiting you in person.
Now that you realize the importance of having a website, you probably start thinking about its cost. No wonder as getting a full-featured website is quite an expensive process. The good news, however, is that you can actually set up a website for free and even with your own domain. And this domain will present your business to the advantage as this is like having your own unique address on the web. Obviously, a personalized domain will set your company apart from competitors, ensuring more control over all business processes.
I have spent more than 150 hours in researching and testing free services. So, are you ready to find out more about the opportunity to set up a website for free but with a unique domain name? Let’s dive into this endeavor, describing step-by-step guidelines on how to get started.
Step 1: Choose a Free Website Building Tool
Whatever type of website you decide to set up, you won’t go without the right tool. This is the very first step you should undertake on your way to getting a site. The list of free website builders and hosting providers is quite extensive. Not all of them, however, make it possible to connect a custom domain at no cost and not all of them come up to your project requirements. Our task is to review the most popular systems that provide this option for free without the need to upgrade to the premium plan.
Popular Free Website Builders
Website builders generally offer a user-friendly approach to create a website for free. These platforms provide intuitive drag-and-drop interfaces, pre-designed templates and an array of customizable features. Most of them offer subscriptions that include free domain connection as a bonus. This eliminates the need to look for a host elsewhere. That’s why these platforms are frequently considered all-in-one systems.
SITE123

SITE123 – is one of the simplest DIY website builders that work great for non-techies. With this platform, everyone can set up, customize and manage a site with no coding at all. What’s interesting, the range of website types one can create with the system includes business projects, portfolios, blogs, landing pages etc.
While SITE123 may not have advanced design customization options and its templates look somewhat similar, it still allows connecting a domain name for free – exactly what a beginner needs! The domain connection process is straightforward and doesn’t require technical background. You just need to sign up for the system, select a free plan and proceed with your project creation.
Note, please, that with SITE123’s free plan, your website will include SITE123 branding. It is displayed as a small ad in your website footer. To get rid of this ad and to get access to premium features, you will have to upgrade to the site builder’s paid plan. In this way, you will also get more options for domain name customization and further project hosting. The cost of the premium package starts at $10.80 per month.
Jimdo

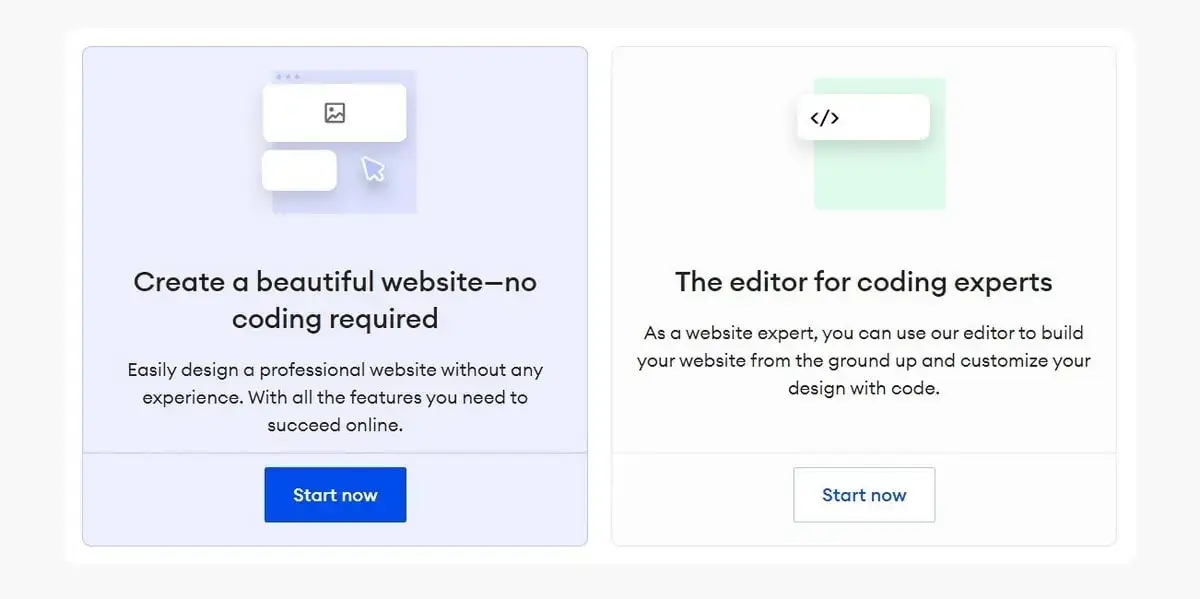
Jimdo – is another simple website builder you can use to set up a website for free. Beginners like it due to its intuitive drag-and-drop editor, modern templates and hassle-free design customization that does not require any coding background at all. Professionals, in their turn, appreciate the software for its simple approach to the web building process that does not compromise with advanced functionality.
Just like SITE123, Jimdo offers a completely free plan that comes with the opportunity of 3rd level domain name connection. Free custom domain name connection is included in premium subscriptions. If you have the intention to make your website’s URL more distinct and professional while starting out on a budget, Jimdo is that very platform you look for. The process of connecting a domain is easy and quite understandable to everyone, making Jimdo a go-to option for beginners.
One of the common demerits of connecting a 3rd level domain is the footer ad that is added to the website. This does not matter a lot for testing the project yet this may become a problem, if you decide to use the project for professional goals. In this case, it is better to upgrade to the premium subscription to avail more advantages and to get an ad-free site.
Wix

Wix – is a trusted and globally recognized DIY website builder that holds leading positions in the list of the best contemporary web design platforms. This is no wonder as it empowers millions of websites worldwide, granting access to an impressive array of templates, quality extensions, integrated AI tools, blogging and eCommerce engines, professional design customization tools and other advantages. More Wix features are provided here.
Wix offers domain connection with their free website building service. Users who create a website on Wix’s free plan (which is never-ending, by the way) can connect a 3rd level domain without additional charges. This means that you will be able to test the system and even practice your skills, but you won’t be able to publish and promote a full-featured project. To get a more personalized web address and to make your website’s URL distinct and professional, you will have to upgrade to a premium plan with a custom domain name connection option.
World-Known Free Web Hosting Providers
Getting a trusted hosting provider is one of the major stages to consider when it comes to setting up a website. If you have an intention to create a site at no cost, choosing a free host is also a must. Let’s enlist several of them now.
- InfinityFree – This hosting provider positions itself as a free hosting with SSL, unlimited bandwidth and disk storage space, 99.9% uptime and other perks. What’s important, the service does not add any ads on your website, making it completely yours. It also lets you use your own selected custom domain for free, thus being a great pick for those looking to launch a website on a budget.
- AwardSpace – is another platform offering free hosting services since 2003. It makes it possible to connect a custom domain name to your site, offering 5GB of monthly traffic, 1GB of disk space, one email account and one MySQL database. It also comes with some extras like 24/7 support and 1-click WordPress installation. No ads are provided here, but a free plan may have a few limitations. However, this is still a perfect starting point for beginners.
- FreeHosting – The host positions itself as a “host without cost” and this is actually so. The service comes with a built-in website builder but you don;t have to use it along with the host. You can set up a project with another website builder and then host it with FreeHosting. The host supports MySQL, PHP and FTP access and it does not add any brand ads to the ready-made website.
- ByetHost – Along with free hosting, ByetHost also offers premium hosting services that are packed with advanced features like PHP, FTP, MySQL, Softaculous 1-click script installer, integrated website builder and email hosting.
Pros and Cons of Using Free Tools
Getting started with free tools is quite easy, hassle-free and affordable. At the same time, this option has its demerits. Both pros and cons are provided below.
|
Pros: |
Cons: |
|
|
Step 2: Register a Free Domain Name
Are you right about to set up a website for free? Then there are two major ways to get a free domain name. Let’s review them below so that you can make an unbiased decision.
Get a Free Domain Name From Website Builders
Website builders are not only an easy way to create a web project, but they are also quite affordable. This is because most website builders provide the opportunity to connect a 3rd level domain as a part of their free plans. This means that your website URL will have the following look: yourname.site.com, for example. This option has its pros and cons, however.
|
Pros: |
Cons: |
|
|
Domains From Local Registrars
Another way to get a free domain name is to use a local domain registrar. Some of the popular services include co.uk, co.nz, or regional ones like example.local. Most of them offer free 2nd level domains. These are typically less common but can still be found in particular locations.
|
Pros: |
Cons: |
|
|
Free Domain Name Providers
Just like you can use free website builders and hosts, you can also work with free domain name providers. The most trusted in the niche are:
- Freenom – The service offers free domains with the following extensions: .tk, .ml, .ga, .cf, and .gq. So, if you need a free domain in one click only for a personal project or a temporary site, you can easily get it here. No complex verification is needed to get started here. The service also offers premium domain options with popular extensions like.com, .net etc.;
- FreeDomain.one – This service makes it possible to register a fully functional domain name not only for websites, but also for emails, SSL Certificates and FTP servers. It is absolutely free. Extensions for domains are quite versatile here, including popular ones like .com or .net, for example. You can additionally get extra services from FreeDomain – domain management, dynamic DNS, custom emails, free digital certificates etc.
So, what option is better – getting a free 3rd level domain from a website builder or a free 2nd level domain from a local registrar? That depends on your needs, of course. If you prioritize simplicity and quick setup, a website builder may work better for you. However, if branding and professionalism come first, choosing a local domain registrar for a 2nd level domain could be a better solution, albeit with certain limitations.
Step 3: Build and Customize Your Website
The process of website reaction always takes time and effort, even if you are not a web design expert and use a simple website builder to get started. However, the main steps are almost the same regardless of the software you choose. Let’s take Jimdo as an example as this website builder is both simple, beginner-focused and feature-rich.
Sign Up and Choose a Template/Start from Scratch
The registration process doesn’t take much time here – just fill out the online form or use social newyork data to create an account. Right after that you will be offered two ways to set up a site.
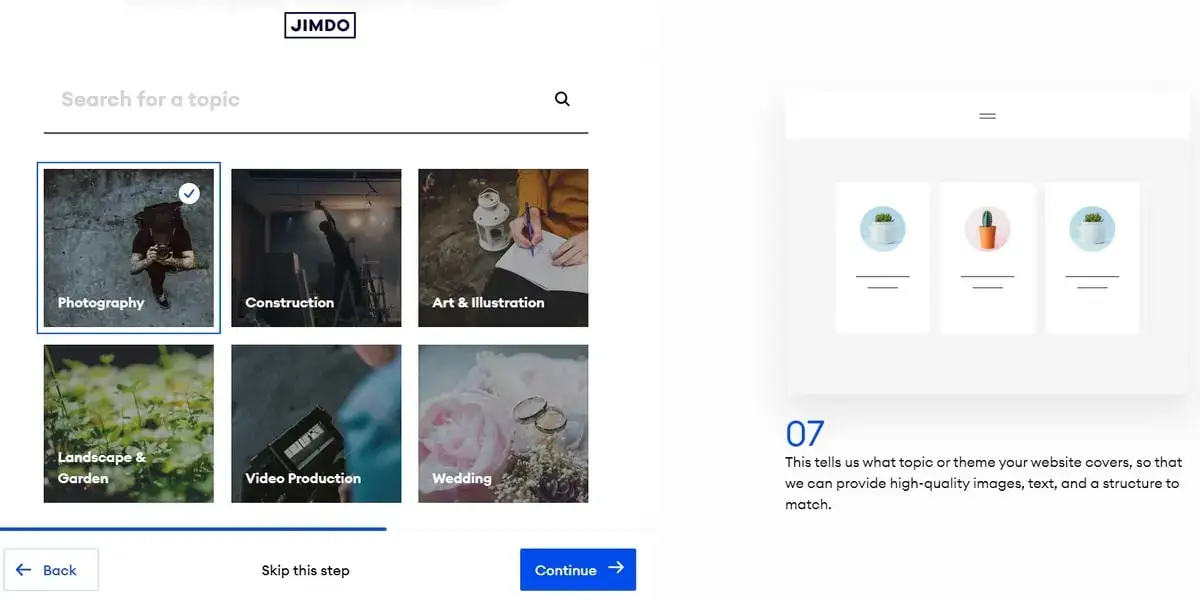
The first one is to pick a pre-designed template from the generous collection the site builder has in stock. The designs available here belong to different categories – portfolios, business projects, eCommerce, blogs… Just pick your and process to the customization process, following the provided guidelines. By the way, this option implies the opportunity to use Jimdo AI tool – the feature that allows specifying the required parameters to further create a website for you in the automated mode. As soon as it is ready, you may proceed to the customization.
The second option is to start from scratch. This will work better, if you don’t manage to find a suitable template in the gallery yet have a certain design in mind. Select a blank canvas, creating the required layout and project design. In this way, your website will be tailor-made and not quite similar to template-based variants.
Include Essential Pages
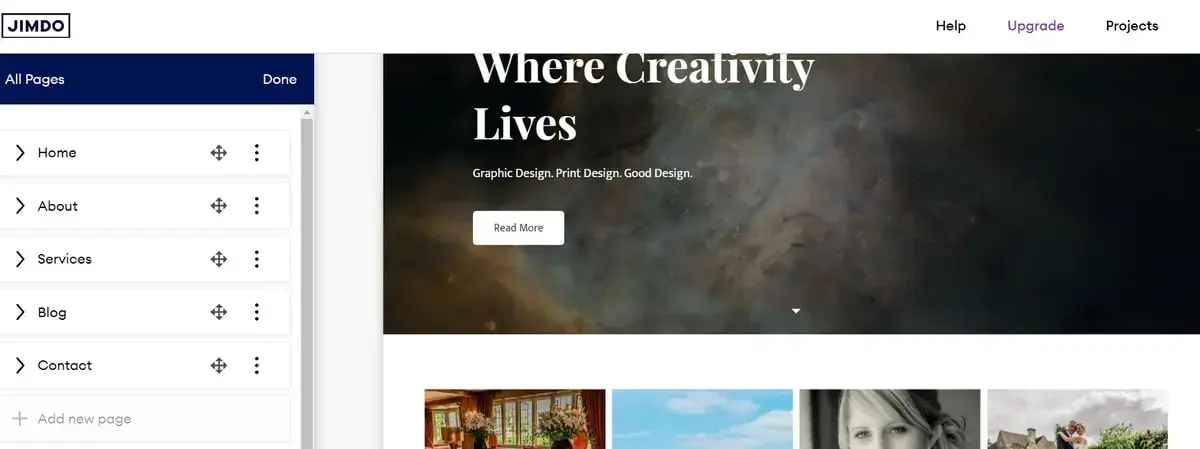
Whatever project you plan to run, there are several pages that are a must for all websites. They help reveal your site content and specialization to the fullest and even provide a certain outline of your business or creativity. These are:
- Home – This is like the face of your website and its ideal presentation. The page creates the first impression on users, triggering them to keep browsing other pages. A homepage should include key elements like a headline (website name), a brief description of your services/products, a short About Us paragraph and obligatory a CTA (call-to-action) button that will redirect visitors to other website pages;
- About – The page includes more detailed information about your company or business. Take your time to add the major issues like your goals and mission, history, team members, story behind your brand etc.;
- Services/Products – Add the list of what you offer. The more detailed it is – the better. Outline your business specialization and major principles. Upload images, their descriptions, parameters and specifications, pricing (if any). By the way, if you plan to sell products here, integrate Jimdo’s eCommerce elements as the website builder allows for product sales as well;
- Testimonials – You can either create a separate page or just a section with user testimonials on your website. Publish their reviews and ideas they would like to share with potential customers. This adds to your credibility rating;
- Blog/News (optional) – A blog is necessary, if you plan to establish communication with website visitors. You can add posts related to your business here, share updates, news and upcoming events;
- FAQ -This is not a must-have, but adding the page is still recommended. Here you can address common questions to help visitors quickly find the required information;
- Contact – Publish as many contacts as you have, thus, simplifying the way to get in touch with you. Include location details, phone number, contact form, email address, social accounts. If possible, integrate a map with address directions.
Adding Features and Plugins for Enhanced Functionality
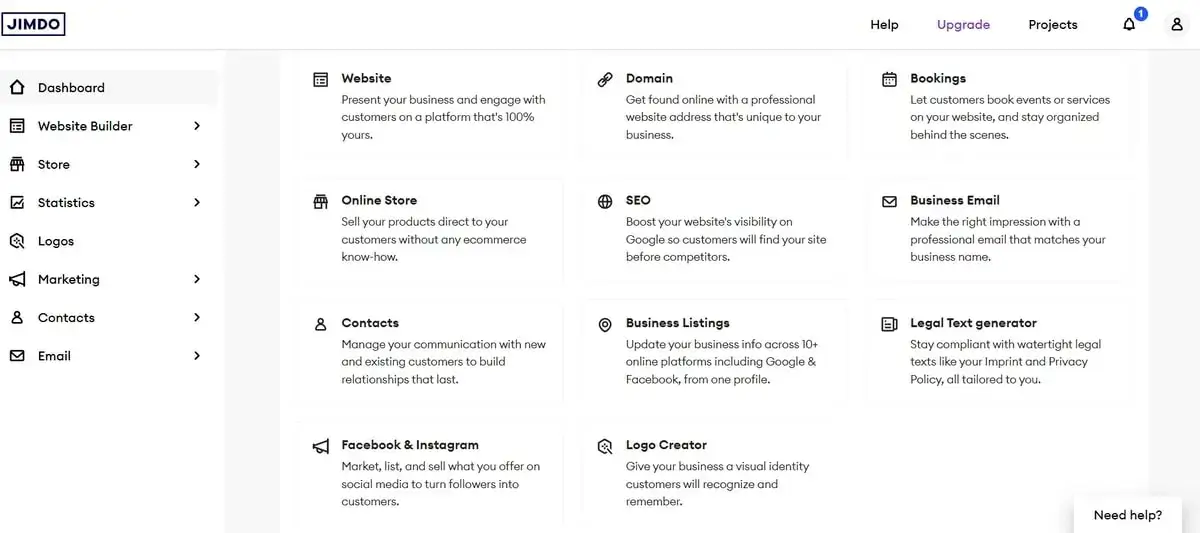
Along with must-have pages, Jimdo makes it possible to integrate extra features and plugins to boost your website security and to help you reach the goals. These are social media buttons, SEO tools, eCommerce features, contact forms, image/media galleries, analytic tools etc. They are not obligatory, of course, so you can choose those that comply with your project type and requirements.
Step 4: Сonnect Your Domain to Your Website
Many website builders claim that they make it possible to connect a free domain to a website. But do they really? The thing is, popular website builders (including those reviewed above) include free domains into their free plans.
As we have figured out, these are 3rd level domains that may work well for testing the service but they won’t be suitable for large-scale web projects. To get a custom domain here, you will still face the need to upgrade to a premium plan. May of them come with the opportunity of free domain connection for 1 year or more.
The same is about hosting providers. Most of them offer free subdomains, but to get a free domain, you have to decide on the paid subscription.
Step 5: Optimize Your Website for SEO
Suppose your website is ready. Don’t hurry to go live with it. Take some time to optimize it for SEO in order to boost the positions in the search engines and drive organic traffic to the project. By optimizing your website, you increase the chances of attracting visitors searching for the products, services or content you offer. That is actually the main purpose of your site creation, isn’t it?
Here are the major SEO parameters to adjust for your project:
- Optimize On-Page Content
- Optimize Images
- Take Care of Technical SEO
- Connect SSL Certificate
- Consider External Optimization
- Monitor the Parameters
This implies adding keywords related to your business into the content as well as adding titles and descriptions to website pages. Try to use descriptive heading and subheadings that contain the selected keywords. Mind that the content you post should be unique and informative – no copied texts are acceptable.
Proper image optimization also matters a lot for worthy website SEO optimization. With this purpose, use descriptive file names for images that come with keywords. Add alt text to them as well – it should preferably describe the image content using relevant keywords. This is how search engine bots will better understand what images are about. By the way, if the images on your site are too large, it is recommended to compress them. This will contribute to faster page load times. There are special tools to help you with that (TinyPNG, JPEG Optimizer).
This includes XML sitemap creation, the use of a Robots.txt File and structured data markup. These and other actions will simplify the process of scanning your website pages by search engine bots. As a result, they will better understand your website content to rate it well.
SSL Certificate connection will enhance your website security. This not only protects user data but also increases your website’s SEO – security is what is appreciated most by the search engines.
This includes creation of quality backlinks via guest posting, directory submissions, creation of local business listings, link building and creation of shareable content (infographics, media or in-depth guides with links to your site).
When you are finally done with your SEO settings, it makes sense to regularly monitor the parameters using Google Analytics. This is where you can see current website traffic and its fluctuations, user behavior, conversions etc. Additionally, it is advised to submit your sitemap to Google Search Console to monitor it for indexing issues, crawl errors and other potential problems.
Step 6: Publish and Promote Your Website
Congratulations! Your website is finally ready and you can go live with it! To publish the project, just press the “Publish” button, but take your time to thoroughly review all pages to see if there are no errors, mistypes, broken links and formatting problems. Check whether the images display well.
As soon as your website is published, monitor its performance on a regular basis. Share the content (news, updates etc.) via social media accounts, send newsletters and personalized emails, update the blog with new posts etc. All these measures help increase user awareness of your business info.
Conclusion
Establishing an online presence through a personal or business website has become more than just a choice – it’s a necessity. In this article, we’ve explored the seamless process of crafting a website for free using website builders and hosting providers with a custom domain name connection option. We have figured out that most popular website builders and hosting providers actually don’t offer completely free domain name connection options. There are certain specifications and terms to follow to get one without breaking the bank.
Right after that you can proceed to your website creation and customization. This process includes several steps that will bring you to the expected result. From choosing the required template to publishing and promoting your site, each step is essential. The same is about further performance monitoring and regular website updates. With the right approach, you can eventually set up a dynamic, engaging website with your own domain name, all for free.