Migration from one CMS to another is a natural thing for projects that evolve over time. This mostly happens when a site outgrows the limitations of the initial platform – in our case Wix, and you decide to switch to a more flexible and feature-rich solution – WordPress.
One of the critical steps here is transferring your domain name from Wix to WordPress. Sounds too technical, right? Don’t worry. With the right approach and detailed guidelines, this is quite manageable even for a beginner.
Basically, the migration process involves:
- unlocking your Wix domain,
- obtaining the authorization code (EPP code)
- connecting or transferring the domain to the hosting provider.
Depending on your project settings, this can be done either by pointing the domain’s DNS to the new host or by fully transferring the domain registration away from Wix.
In this guide, I’ll provide detailed instructions on preparing your Wix site for moving to WordPress and transferring your Wix domain as the first step of this responsible process. You’ll also learn what preliminary work should be done in WordPress.
Let’s get started with preparing your Wix domain for the switch now.
Why Move a Domain Name?
A domain migration frequently goes hand in hand with a more extensive goal: gaining more control and flexibility over your website. Working with Wix sites for several years, I concluded that it is undoubtedly a simple and handy platform for beginners, yet it imposes certain limitations on more complex websites. They become more apparent as your site grows. WordPress, on the other hand, offers greater flexibility, advanced SEO tools, complete hosting control and better scalability — features that are essential for long-term online success.
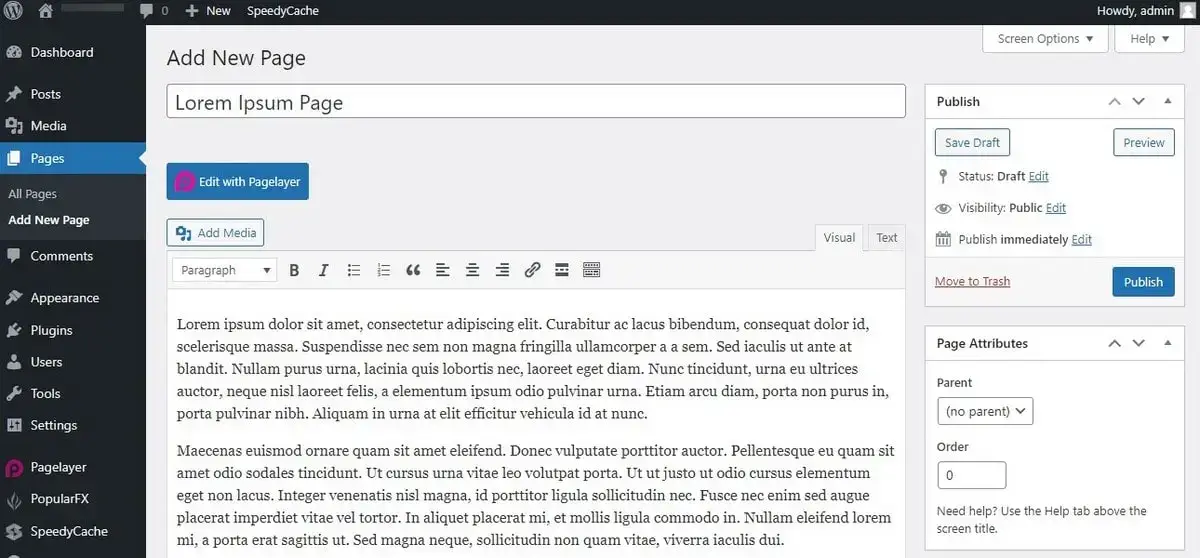
My WordPress tests have proven that this CMS allows customizing every aspect of your website, integrating thousands of themes and plugins and fine-tuning your SEO strategy using powerful tools like Yoast SEO.
You are not limited by the choice of hosting provider and you are free to decide what features to add to your site as it grows – WordPress will scale with it.
What Are the Main Limitations of Wix Domains?
- Limited domain management control. Wix doesn’t offer complete DNS zone editing, restricts domain redirect options and doesn’t support multisite domain mapping. As opposed to it, WordPress (which is self-hosted) allows managing the smallest tech nuances of your domain.
- Dependency on Wix infrastructure. The website builder lets you use a custom domain only when you upgrade to a premium plan. Transferring it away from Wix can be complicated due to the internal policies of the system and lack of advanced control settings like manual domain locking or redirect options.
- Email hosting isn’t included with a Wix domain. If required, the email has to be purchased separately via third-party services like G Suite. In contrast, WordPress-friendly hosts include free email accounts as part of their packages.
Have a look at the more detailed comparison of Wix and WordPress domain features:
Who Will Benefit Most From Migrating to WordPress?
Not everyone faces the need to migrate from Wix. However, this is a chance for many users to get a more powerful website management experience. I recommend switching between these systems, if you:
- Plan to scale a business website or a blog – As your traffic grows, you’ll need more content creation and management tools, more advanced SEO features and faster loading speeds — this is easier to get with WordPress.
- Need more customization – WordPress makes it possible to set up and control all aspects of your website design and performance – everything from the layout, integrations and animations and up to eCommerce features, online forms and SEO settings.
- Complete website ownership – It is you who decides on hosting choice, plugins and templates, backup management and settings adjustment in WordPress. You are not limited by the CMS in any way as you are in Wix.
- Intend to set up a web store – WordPress has powerful eCommerce plugins like WooCommerce. This guarantees access to myriads of web store settings. Wix definitely lags behind here.
- Hope to add more features – Whether you plan to add multilingual support, run multiple sites or integrate other third-party extensions, WordPress covers these and other needs.
What Should You Do Before Starting The Wix Domain Transfer?
Moving a domain from Wix to WordPress is far from a one-click operation. Moreover, you can only succeed with it when you run the transfer just in line with the strict order of Wix-to-WordPress migration. Your preparatory steps will be as follows.
Step #1: Choose a Hosting Provider for WordPress
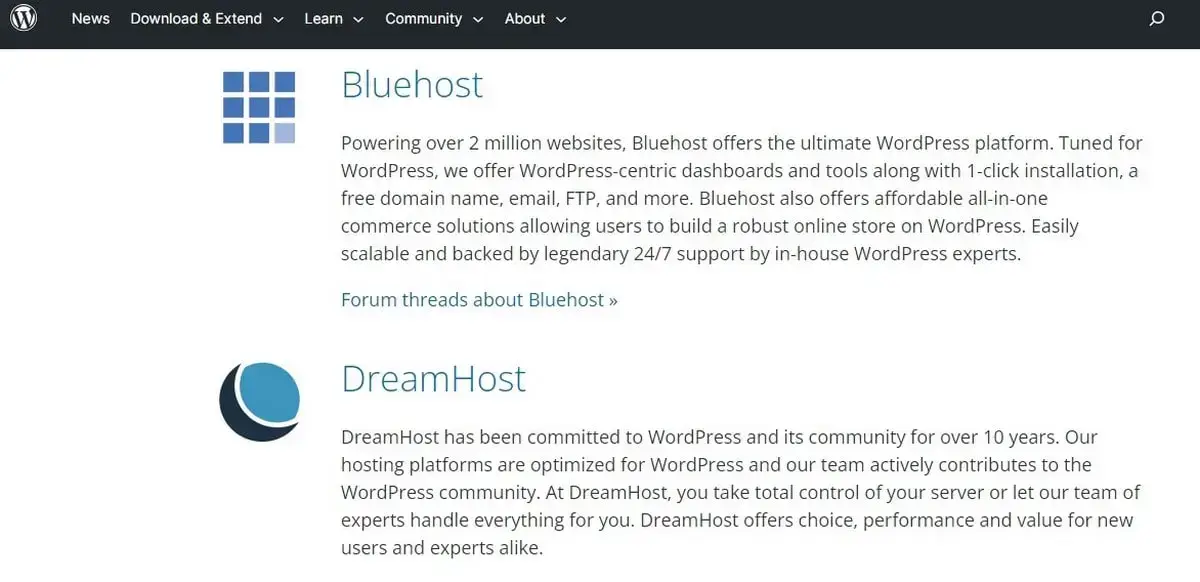
WordPress is self-hosted, so first, you’ll need to buy hosting. Today’s market has plenty of reliable hosts, but make sure you deal with one that offers specialized WordPress plans. From my own experience, I recommend BlueHost or DreamHost (my review) – both come with a one-click WP installation and support help from techies.
If you choose to move your Wix site to WordPress.com, you can get hosting and a domain right there. The service offers several plans with hosting and domain options included.
Step #2: Export and Save All Wix URLs
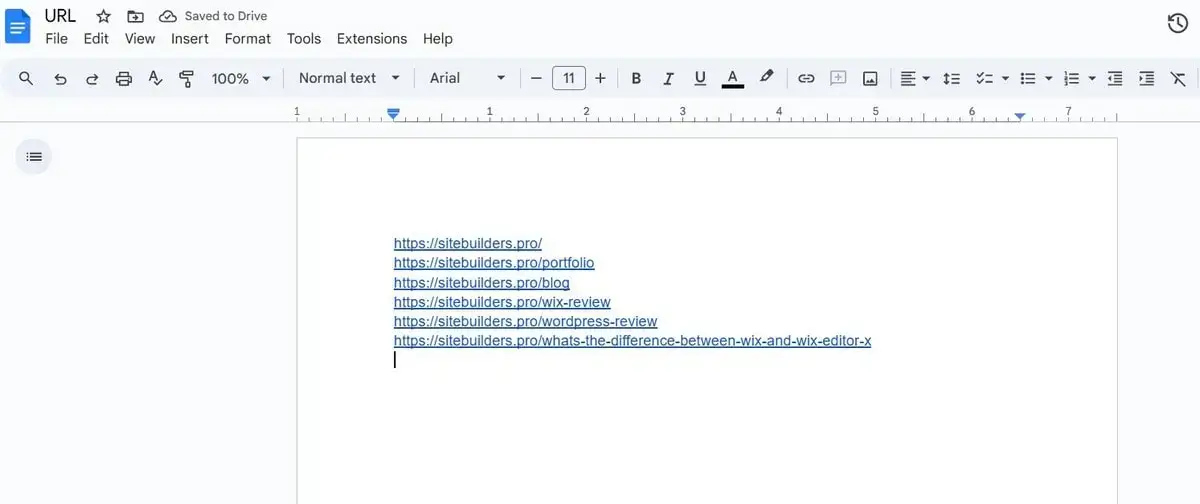
This step is necessary for multi-page websites with premium Wix domains and solid traffic. To keep this traffic at the same level, you must apply redirects to your new URLs on WordPress. Thus, your visitors who got accustomed to using your Wix pages will be redirected to the corresponding pages on your new WordPress site.
So, how do you make a list of your Wix URLs? You just have to surf through all your pages and copy each URL. Paste them, one after another, into a text file and save it. Surely, if your reason for moving to WordPress is SEO, you can skip this step. WordPress has enough plugins to bring your SEO settings to perfection.
Step #3: Register or Set Up a Temporary Domain
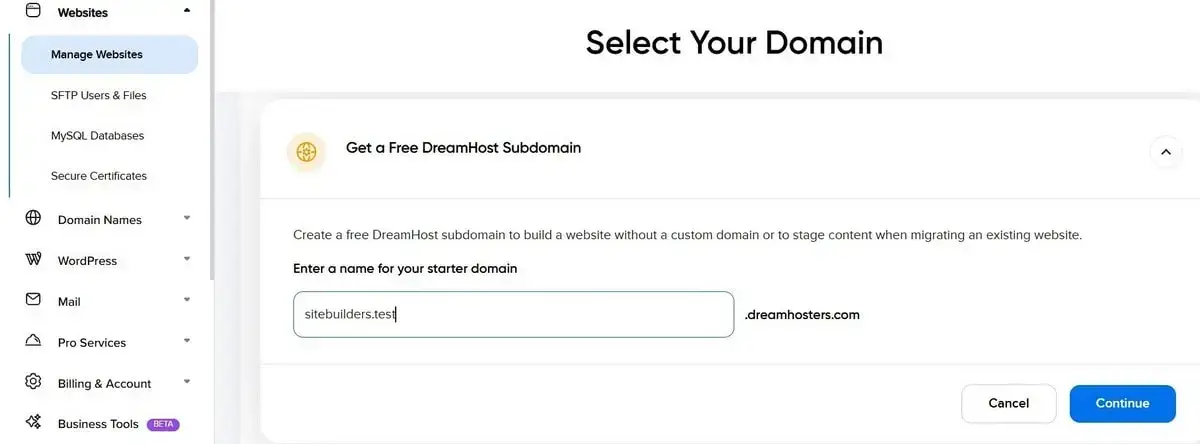
Again, using a Wix domain without a ‘wix.com’ tag, you must set up a temporary domain. Your hosting company should offer this option. Moreover, you can ask for assistance if you do not know how to create and use a temporary domain.
If you are on a Wix free domain, you should simply register a new one. Your host is sure to offer a free domain for subscription to one of its plans and multiple paid options.
Step #4: Install WordPress on Your Hosting
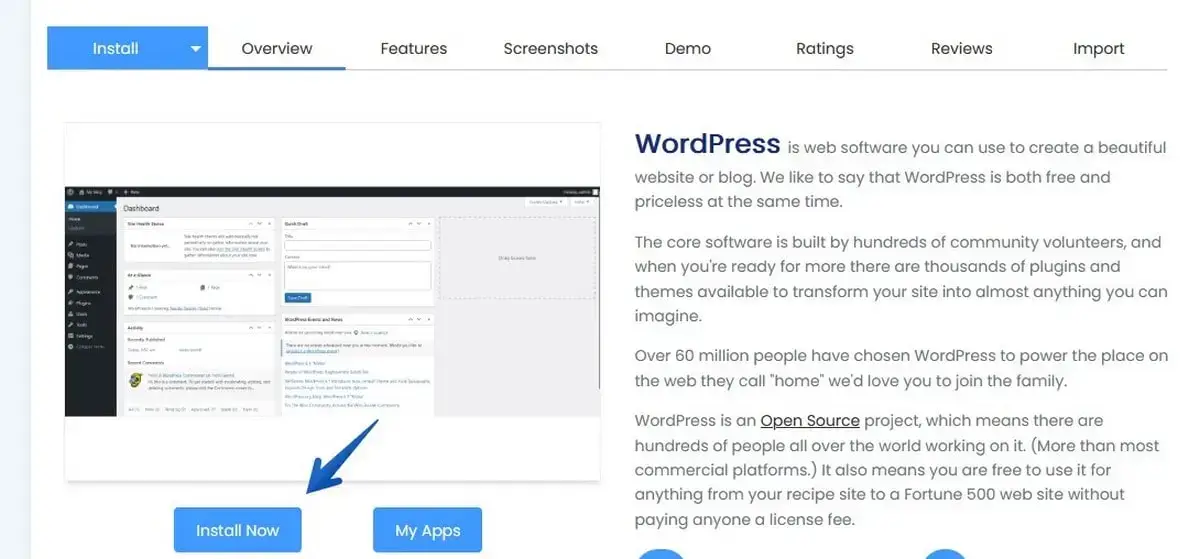
A good host will let you install WordPress with a click. Yet, the procedure requires careful pursuance. You do the following actions:
- Sign in to your hosting account.
- Go to the control panel.
- Opt for WordPress Installer and launch it.
- In the setup form, choose a protocol.
- Fix your future WordPress site settings.
- Indicate the Admin settings and select a suitable installation language.
- Click ‘Install’ to run the automated setup process.
If you have a question at any stage of this process, feel free to ask for guidance from your host.
Step #5: Customize the New WordPress Site (Design, Plugins, Structure)
In fact, transferring a domain from means creating a new site from scratch on a large scale. It is clearly seen when you come to the stage of moving your content to WordPress from Wix. This process requires special attention and carefulness. It may take loads of time.
There exist several methods of transferring your content. These are mainly manual migration, content transfers via special plugins, and hiring an expert to do the job instead of you.
Although there are numerous plugins for semi-automated transfers, I’d recommend choosing either manual or expert-help solutions. Various errors may occur when moving your data with the help of plugins. For instance, plugins may fail to migrate your content in full. If you wish to use the plugin method anyway, double-check the transferred data to ensure everything is copied to your new WordPress site.
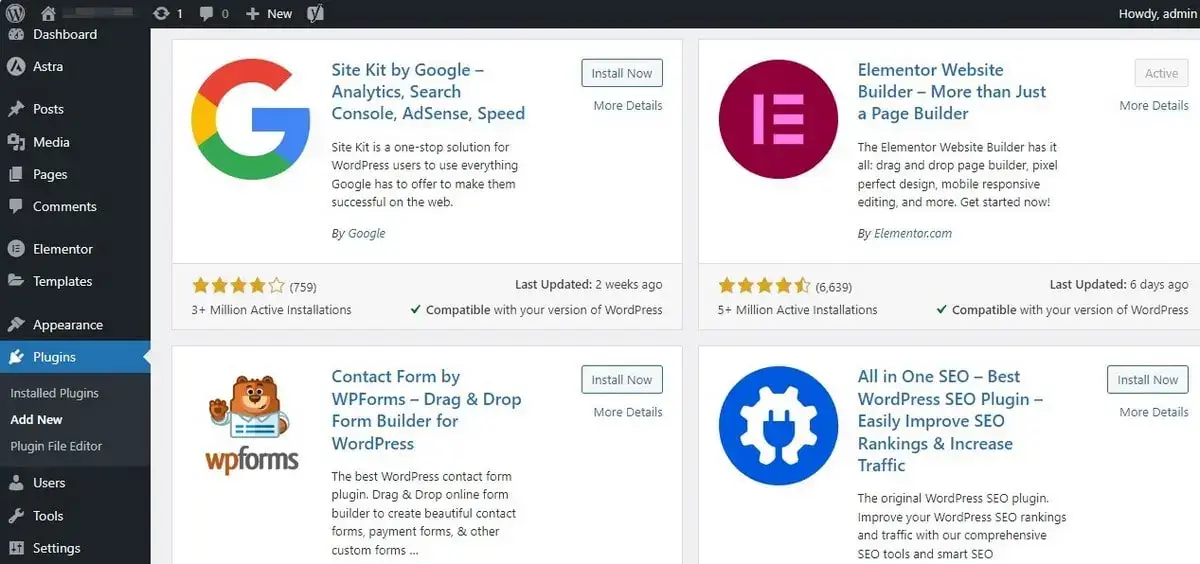
Personally, I prefer the copy & paste method. That is, I choose to move all the Wix site’s content manually. It is a time-consuming procedure. Yet, I see it as the most effective and secure way. The whole thing consists of the following stages:
- Moving text files.
- Transferring media (images, videos etc.)
- Importing XML posts via RSS feed.
If you are all abroad with such manipulations, hiring a pro is your only workable solution. Since you are migrating to WordPress, you are in the process of joining the vastest community of experts in the iTech world. So, finding one who can help you with this complex matter won’t be a problem. It only hinges on the cost.
How to Migrate a Wix Domain to the WordPress Host?
Now, you can securely transfer your Wix domain to WordPress. The thing is to move your actual Wix domain to a domain registrar of your chosen host. See the recommendations below based on the option you choose.
If You’re Using a Custom (Paid) Domain on Wix
If your Wix site is based on a premium domain without ‘wix.com’ ending in your website’s URL, the process will consist of the following actions:
- Enter Your Wix Account. Go to the Wix login page and provide your credentials. You’ll be redirected to your Wix dashboard — this is the control panel where you manage your website, billing, domains and other parameters.
- Open the ‘Subscriptions’ Menu in the CPanel. In the left-hand menu, find and click the “Subscriptions” button. This section includes everything you’ve purchased from Wix: premium website plans, domains, apps etc. This is where you can manage billing and services linked to your account.
- Opt for ‘Domains.’ Click “Domains” in the “Subscriptions” section. A list of all domains registered through Wix will be provided here. If you have multiple domains, each will be listed separately.
- Select a Domain to Transfer If You Have a Number of Them. View the available list of domains and pick the one you intend to transfer to your WordPress site. If you manage more than one domain, make sure you select the right one. So, check twice.
- Go to the ‘Advanced Settings’ Section. While in the domain dashboard, scroll down or navigate to the “Advanced Settings” section. This is where Wix offers domain management options, including domain locking and transferring it to another registrar.
- Click on ‘Transfer Away From Wix.’ Under Advanced Settings, you’ll see the “Transfer away from Wix” button. Click this to initiate the transfer process. Note! Your domain must be at least 60 days old and not recently moved in order to be eligible for transfer under ICANN regulations.
- Tap ‘Send Code’ to Launch the Domain Migration. After you click the “Transfer away from Wix” button, you’ll see the “Send Code” button. The EPP code (or Authorization code) is meant here. It is essential for successful domain transfer. It justifies that you are the domain owner.
- Transfer the Domain to a New Host. Unlock the domain and enter the control panel of the hosting provider you selected. Find the “transfer” tab, which should be in the section labeled “Domains” or “My Domains.” Enter your domain name, provide the EPP code you got from Wix and follow the instructions. The activation takes up to 10 business days. Install WordPress and log in to the WordPress dashboard via your hosting account. Migrate the website. That’s it for now.
Once selected, access the domain’s settings dashboard to further manage DNS records, renewals, redirect, and other advanced options.
Click “Send Code” and Wix will email the authorization code to the email address associated with your Wix account. You’ll receive the authorization code in the email you have used to register the Wix domain. Mind that it may take up to 24 hours to get this code, though in most cases, it is sent within a shorter time.
If You’re Migrating to WordPress.com
If you choose one of the hosting plans at WordPress.com, the main steps will somewhat differ.
- Go to ‘My Sites’ → ‘Manage’ → ‘Domains’ in WordPress. Go to www.wordpress.com and log in with your credentials. If you don’t have an account yet, create one and choose a paid hosting plan that supports domain connections or transfer. Once you’re inside your dashboard, navigate to the “My Sites” section. From the left-hand menu, click the “Manage” button and then choose “Domains.”
- Opt for the ‘Add a Domain’ section. At the top or bottom of the domains page, click the “Add a domain” button. The system will provide multiple options for either buying a new domain or using one you already own.
- Tap the ‘Use a Domain I Own’ Option. Choose the “Use a domain I own” option. This will indicate that you want to connect or transfer an existing domain (in our case – the one registered through Wix).
- Click on ‘Transfer to WordPress’ next. You’ll see “Transfer to WordPress.com” and “Connect Your Domain” buttons. Choose “Transfer to WordPress.com” if you want it to become your domain registrar.
- Indicate Your Domain Name. Type your current domain name into the provided field and proceed to the next step.
- Check if Your Wix Domain Is Unlocked and Confirm It in the Corresponding Window. Make sure your domain is unlocked in Wix. This is done in the Wix dashboard – just access the domain settings, go to “Advanced Settings” and click “Transfer away from Wix.”
- Click ‘I’ve Unlocked My Domain.’ Once unlocked, go back to WordPress.com and check the box or click the “I’ve unlocked my domain” button.
- Insert Your Authorization Code and Press ‘Continue’ to Complete the Migration Process. Paste the authorization code you’ve got from Wix into the required field. This code proves that you are the domain owner and are authorized to transfer it. Finally, click “Continue”. You’ll receive a transfer confirmation by email. It may take up to seven business days to get the transfer completed.
Preserving SEO During the Migration
Maintaining your Wix SEO positions is another crucial step to take care of during the migration process. Here is what you should do to preserve your website SEO rankings.
How to Create 301 Redirects from Wix URLs
You can set up 301 redirects either directly in your hosting control panel (such as cPanel) or by using WordPress plugins. Most hosts offer a built-in redirect manager where you can map old URLs to new ones.
Alternatively, you can use plugins like Redirection, Yoast SEO Premium or Rank Math to manage redirects right from your WordPress dashboard. These tools make it possible to easily create and monitor redirects without code editing. This helps preserve SEO settings and avoid broken links after the migration.
How to Set Up Permalinks and Slugs in WordPress
To set up permalinks, go to “Settings” → “Permalinks” and choose “Post name” to create readable URLs. This is needed to improve click-through rates in search results. You should also manually set custom slugs (the part of the URL that comes after the domain) on the main pages and posts to match your old Wix URLs in the best way possible. This will help avoid multiple redirects afterwards.
Which Plugins Help You Keep SEO Intact (e.g. RankMath, Redirection)
In WordPress, you will need a special plugin like Redirection to create 301 redirects from your old Wix URLs to their new WordPress equivalents. This is how the search engines will know that your content has moved permanently to be able to preserve link equity and rankings.
RankMath and Yoast SEO plugins help control title tags, descriptions, canonical URLs etc. They are also used to manage on-page SEO, generate sitemaps, and optimize metadata.
What to Do With Internal and External Links After the Transfer
Once the migration is complete, it’s important to browse all internal links on your new WordPress website to check if they are all active. This is important for your website SEO as broken or inactive links may have a negative impact upon your website rankings. Tools like Broken Link Checker or Link Whisper will help you scan the project and fix the detected links, if required.
External links should be updated manually. If you have access to business listings, catalogs, social media platforms etc., take your time to do that. If you have ordered these links out there, you can contact webmasters asking for the update. The more you manage to process, the less negative impact your website will have.
What to Do After the Domain Is Transferred? (Post-Migration Checklist)
Now, it’s time to give your ready-to-use WordPress site a try. Before that, however, you need to make sure it functions correctly. To simplify the task, I’ve prepared this checklist for you.
Verify DNS and Domain Connection
To verify that your domain is correctly pointing to your new WordPress hosting, check the DNS settings using the DNS Checker tool. Then make sure the nameservers are also updated with regard to your host’s requirements. If everything is ok, your domain will correctly load the new WordPress website – not the old Wix version. One more thing to check is your SSL certificate configuration. Most WordPress hosts provide free SSL via Let’s Encrypt, by the way.
Test Page Load Speed and Core Web Vitals
The way your website loads affects multiple performance parameters. So, find time testing its load speed using the tools like Google PageSpeed Insights, GTmetrix or WebPageTest. Pay attention to Core Web Vitals as well, especially to metrics like Largest Contentful Paint (LCP), First Input Delay (FID) and Cumulative Layout Shift (CLS).
If the site is slow, consider the main optimization options: edit images and their parameters, enable caching (with plugins like WP Rocket or W3 Total Cache) and use a content delivery network (CDN).
Resubmit Sitemap in Google Search Console
To resubmit the sitemap in Google Search Console, navigate to the “Sitemaps” section, delete old sitemaps (if any) and add the new one. Generally, it is located at yourdomain.com/sitemap.xml. This contributes to better Google crawling and faster indexing your new WordPress site pages.
Read also: How to Upload an HTML Verification File to a Wix WebsiteSet Up Google Analytics and Tag Manager
To track user behavior and traffic, set up Google Analytics on your new website. You can do this either manually (by adding the tracking code to your theme’s header) or via plugins like Site Kit by Google or MonsterInsights. Use Google Tag Manager to manage multiple tracking codes (Analytics, Ads, Facebook Pixel etc.) from the same interface.
Monitor Rankings, Crawl Errors and Traffic Drops
Your WordPress website parameters may temporarily be affected upon the transfer. You should be twice attentive, monitoring rankings. Keep a close eye on crawl stats and traffic fluctuations for at least 1 month after the migration. Use Google Search Console’s “Coverage” and “Performance” reports to detect issues like 404 errors, indexing problems or keyword drops. Mastering tools like Ahrefs, SEMrush or UptimeRobot is a must to monitor these changes. If you notice significant traffic loss, check your 301 redirects, broken links and SEO settings once again.
FAQs
- Can You Move a Free Wix Domain to WordPress?
No. Free Wix domains (that is, subdomains) can’t be transferred. You need a custom, premium domain to move it to WordPress. - Is There a Tool That Automatically Migrates My Wix Site?
There’s no one-click tool for complete automated Wix-to-WordPress website migration. It’s better to deal with a professional here. - Will I Lose My SEO Rankings After Migration?
Some fluctuations are possible, but they are likely to be temporary. With correct 301 redirect setup, URL structure maintenance and regular monitoring SEO parameters, your rankings should remain consistent. - How Much Does It Cost to Migrate a Site from Wix to WordPress?
Costs vary. If you feel that you are ready to do that independently, you won’t have to invest anything (except for hosting). However, it is better to entrust this process with professionals. We at SiteBuilders.PRO, have rich experience in professional website transfer. The cost of migrating a website starts at $675, depending on website size and complexity. Contact me here for more info. - How Long Does a Typical Migration Take?
It takes around 3-5 days to migrate a standard website. Larger sites or those with complex designs/features may take more time – up to 2 weeks, including SEO setup and final testing. - Is My Wix Domain Eligible for Transfer?
- Check if at least 60 days have passed since domain registration;
- Make sure the domain is unlocked (no active «Transfer Lock» available);
- See if the WHOIS data (especially email) is up-to-date for verification.
- Should I Lower My DNS TTL Before Transfer?
It is recommended to set the TTL (Time-To-Live) to the minimum around 24 hours before transfer. This speeds up DNS updates when switching to a new host. - What to Back Up Before Starting?
Save a copy of all DNS records and check MX records, if you plan to transfer the email service.
